
Gaming Settings to Change Before You Start a New Game
A practical checklist for configuring performance, controls, accessibility, audio and visual settings before beginning a new game.
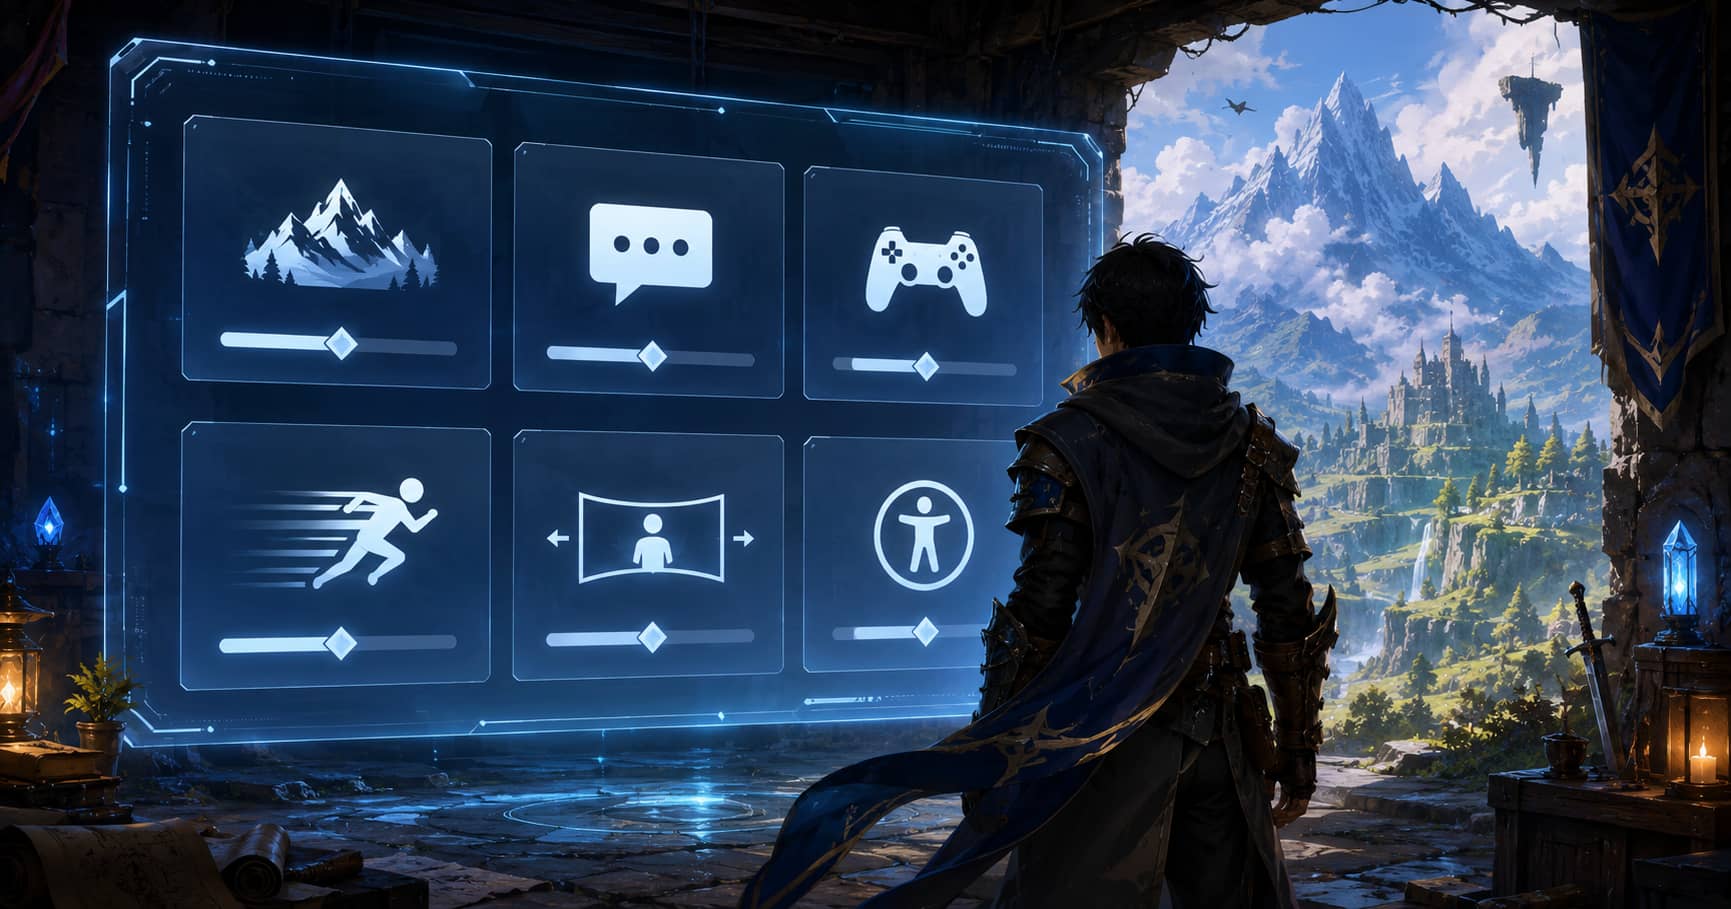
The first minutes of a new game shape the next ten, twenty, or one hundred hours. Default settings are designed to work for a broad audience, not for your display, room, hearing, control preferences, or tolerance for camera effects. Spending five minutes in the options menu can prevent eye strain, missed dialogue, poor visibility, awkward controls, and unnecessary performance problems.
You do not need to copy a professional player's settings. The useful approach is to understand what each option changes, make a conservative adjustment, and revisit it after the opening section.
Choose a performance target before visual details
On consoles, many games offer a quality mode and a performance mode. Quality mode usually prioritizes resolution, lighting, or ray tracing, while performance mode targets a higher frame rate. Try both in actual movement. A visually impressive still image does not tell you how combat, camera panning, or driving will feel.
On PC, confirm that the game is using the correct resolution and that Windows is running the monitor at its intended refresh rate. Set a realistic frame-rate cap and avoid maxing every option before you know how the game performs. Our guide to improving PC gaming performance without an upgrade explains which settings usually provide the largest gains.
Fix brightness using the game's calibration image
Brightness is not a difficulty setting. If it is too low, shadow detail disappears and dark scenes become tiring. If it is too high, the image looks grey and intentional contrast is lost. Use the calibration image in a normally lit room and follow its instruction literally. If the game asks you to make a symbol barely visible, do not hide it completely.
HDR requires an HDR-capable display, correct system output, and suitable in-game calibration. An HDR label alone does not guarantee a good result. If highlights look washed out or dark areas are crushed, compare the game in standard dynamic range rather than assuming HDR must be better.
Make dialogue readable and understandable
Turn on subtitles when dialogue can be missed beneath music, effects, accents, or environmental noise. Check subtitle size, speaker names, background opacity, and directional indicators. Larger text is not only an accessibility feature; it is useful when playing from a sofa or on a handheld screen.
Choose the correct audio range. Home cinema or wide dynamic range modes preserve a large difference between quiet and loud sounds, which suits capable speakers in a suitable room. Night, compressed, or low dynamic range modes keep dialogue and effects closer in volume, making them more practical for television speakers, shared homes, and late sessions.
Reduce camera effects that make movement uncomfortable
Motion blur can make low-frame-rate movement appear smoother, but some players find it unclear or uncomfortable. Film grain, chromatic aberration, lens distortion, depth of field, head bob, and camera shake are stylistic effects rather than requirements. Disable them one at a time if the image feels tiring.
Field of view controls how much of the scene is visible. A narrow field can feel restrictive on a monitor, while an extremely wide field can distort objects and reduce performance in some games because more of the environment is rendered. Increase it gradually and test indoors as well as outdoors.
Set controls for consistency, not fashion
Adjust camera sensitivity until you can turn accurately without repeatedly correcting your aim. Very high sensitivity is not automatically better. For mouse input, check whether acceleration or smoothing is enabled. For a controller, inspect dead-zone options if small stick movements are ignored or if the camera moves without input.
Remap actions that cause discomfort or repeated mistakes. Hold-versus-toggle options can reduce strain for sprinting, aiming, crouching, and targeting. The Game Accessibility Guidelines recommend clear tutorials, readable text, remappable controls, and options that reduce unnecessary barriers. These settings are useful to many players, not only people who identify as disabled.
Choose difficulty according to the experience you want
Read the description rather than relying on labels such as normal or hard. Some modes change enemy health, while others alter resources, artificial intelligence, timing windows, navigation assistance, or save restrictions. Select the mode that supports your reason for playing. Story-focused play is not a lesser way to experience a game, and a demanding mode is not useful when it turns every session into repetition.
If difficulty can be changed later, begin near the middle and adjust after learning the basic systems. If the choice is permanent, check whether it affects achievements or access to content before committing.
Review saves, online features, and privacy
Find out how autosaving works. Some games save continuously, others only at checkpoints, and some require manual saves. Create a manual save after the tutorial when possible. Check cloud synchronization before switching devices, and never assume that an autosave icon means a remote backup has completed.
For online games, review voice chat, text chat, cross-play, matchmaking region, streamer mode, and account visibility. Disable open microphones unless you intend to use them. Parents should review platform-level communication and purchase controls rather than relying only on an individual game's settings.
Revisit the menu after the opening hour
The ideal setup is difficult to judge from a title screen. After the first hour, ask simple questions: Can you read every prompt? Does turning feel accurate? Are loud effects masking speech? Is the frame rate stable? Does camera movement feel comfortable? Change the setting connected to the problem instead of copying a complete preset from someone with different hardware and preferences.
A good options menu is part of the game, not an obstacle before it. Use it to create a clear, comfortable baseline, then stop adjusting and play. The best settings are the ones you no longer notice.
GameAtlas HQ
Read more practical gaming coverage across our six editorial categories.